Applying a screen protector to your phone can be a simple process if done carefully.
A screen protector is a thin layer of protective material that’s applied to your phone’s screen to protect it from damage. Let me explain the key aspects:
Purpose of screen protector
Prevents scratches from keys, coins, or other objects in your pocket/bag. Protects against cracks if you drop your phone. Reduces fingerprints and smudges. Some types reduce glare or provide privacy features
Common Types:
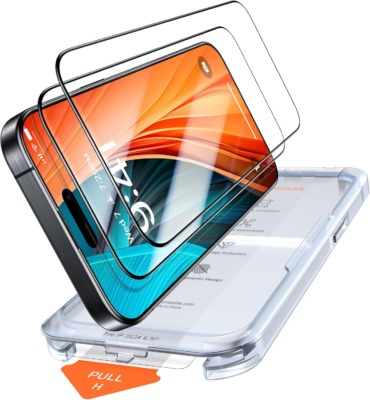
Tempered Glass
- Made of reinforced glass
- Feels like the original screen
- Best protection against drops and scratches
- Usually thicker than other types
- More expensive but most popular
PET (Polyethylene Terephthalate) Film
- Thin plastic material
- Less expensive
- Basic scratch protection
- Very thin and flexible
TPU (Thermoplastic Polyurethane)
- Soft, flexible plastic
- Self-healing (minor scratches disappear)
- Good scratch protection
- Less protection against drops
Benefits of using screen protector on your phone
- Much cheaper to replace than a damaged phone screen
- Maintains phone resale value
- Adds grip to smooth screens
- Some offer additional features like blue light filtering
Here’s a step-by-step guide:
What You Need:
- Screen protector (tempered glass or plastic film)
- Cleaning wipes (usually included with the screen protector)
- Dust removal stickers (if included)
- Microfiber cloth
- Your phone
Steps to Apply the Screen Protector:
- Clean Your Hands and Work Area:
- Start by thoroughly washing your hands to prevent transferring dirt or oils to the screen.
- Choose a clean, dust-free area to apply the screen protector, ideally in a bathroom with a steamy environment to reduce dust.
- Clean the Phone Screen:
- Use the included wet wipe to gently clean the phone screen. This removes smudges and dirt.
- Follow with the dry cloth to wipe away any moisture.
- If your screen protector package includes a dust removal sticker, use it to pick up any remaining dust particles.
- Align the Screen Protector:
- Before removing any protective backing, hold the screen protector over the phone to check alignment.
- Ensure the cutouts for the camera, speaker, and buttons are in the correct position.
- This will help ensure you place it correctly the first time.
- Peel Off the Backing:
- Carefully peel off the protective film from the back of the screen protector (usually labeled with “Peel 2” or similar).
- Be cautious not to touch the sticky side of the screen protector.
- Apply the Screen Protector:
- Align the screen protector with the top of the phone (near the camera) and gently place it on the screen.
- Let it fall into place and make sure it covers the entire screen.
- Smooth Out Air Bubbles:
- Once the protector is in place, use a credit card or the included squeegee (usually a plastic card or small tool) to gently push out any air bubbles starting from the center and moving out to the edges.
- If small bubbles remain, you can lift the protector slightly and re-press it down, repeating the process.
- Final Touches:
- If any dust or fingerprints remain on the surface, use a microfiber cloth to clean it off gently.
- Allow the screen protector to settle and adhere to the screen for a few hours.
Tips:
- Be patient and work slowly to avoid mistakes.
- If there are stubborn bubbles, use a little bit of pressure to push them out, or use the heat method (use a hair dryer on low heat for a few seconds to soften the adhesive, but don’t overheat).
With these steps, you should have a well-applied screen protector that will help protect your phone from scratches and minor impacts.
A guide for applying a screen protector properly to minimize bubbles and dust:
Preparation:
- Clean your hands thoroughly
- Find a well-lit, dust-free space
- Gather supplies:
- Screen protector
- Microfiber cloth
- Cleaning solution
- Dust removal stickers (usually included)
- Credit card or squeegee for bubbles
Step-by-Step Application:
Clean your phone screen:
- Power off your phone
- Remove your phone case
- Use cleaning solution and microfiber cloth
- Use dust removal stickers for final cleanup
Align the protector:
- Remove only the bottom protective film
- Line up with speakers, buttons, and camera
- Use alignment guides if included
- Don’t let the adhesive touch the screen yet
Apply the protector:
- Start from one end (usually top)
- Slowly lower it down while holding the other end
- If misaligned, carefully lift and realign
Remove bubbles:
- Use the squeegee or card to push bubbles out
- Work from the center outward
- Apply firm, even pressure
Final steps:
- Remove the top protective layer
- Press down edges firmly
- Clean any fingerprints
- Wait about an hour before using the phone
Tips:
- Do this in a steamy bathroom to reduce dust
- If you make a mistake, slowly lift and retry
- Take your time – rushing often leads to bubbles
- Some tiny bubbles will disappear within 24-48 hours